Ledger.com/start — Ultimate Beginner’s Guide
Your complete walkthrough to setting up, securing, and managing your crypto using Ledger hardware wallets and Ledger Live.
What Is Ledger.com/start?
Ledger.com/start is the official setup portal for all Ledger hardware wallets, including Ledger Nano S Plus and Ledger Nano X. It serves as the verified starting point for downloading Ledger Live, activating your hardware wallet, and securing your crypto portfolio with industry-leading encryption and offline protection.
In a world filled with digital threats, Ledger’s combination of cold storage, private key isolation, and secure chip technology creates a powerful shield against hacks, phishing, and malware.
Important:
Only download Ledger Live from the official portal — Ledger.com/start — to avoid tampered or fake wallet software.
How Ledger Hardware Wallets Work
Ledger wallets hold your private keys inside a Secure Element chip, an advanced form of hardware-level encryption similar to what’s used in passports and banking cards. Unlike software wallets, your private keys never leave the device — even when you sign a transaction. This method is known as offline transaction signing.
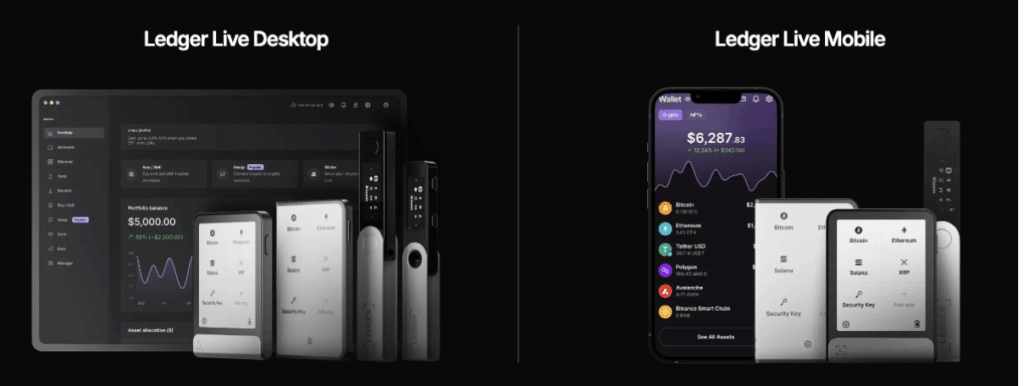
Ledger Live acts as the dashboard for all your crypto accounts, enabling you to manage Bitcoin, Ethereum, Solana, NFTs, and even stake supported assets.
Step-by-Step Setup Guide via Ledger.com/start
Follow this simple process to set up your wallet securely, even if you are new to crypto technology.
Step 1: Unbox and Inspect Your Ledger Device
Inside the box, you’ll find the Ledger device, recovery sheets, and a USB cable. Ledger devices never come pre-set with a seed phrase. If yours does, return it immediately.
Step 2: Visit Ledger.com/start
Go to the official link and download Ledger Live for Windows, Mac, or Linux. Install and open the app to begin device initialization.
Step 3: Connect Your Ledger
Use the USB cable to connect your hardware wallet. Ledger Live will automatically detect it and guide you through the setup.
Step 4: Create a PIN
Choose a secure PIN that you can remember but cannot be guessed easily. This PIN protects access to your device.
Step 5: Write Down Your 24-Word Recovery Phrase
The most crucial step. Write every word in the correct order on the recovery sheet. This phrase is the only way to restore your wallet.
Step 6: Install Apps & Add Crypto Accounts
Use Ledger Live to install blockchain apps such as Bitcoin, Ethereum, or Solana. Then create accounts and begin managing your assets.
Cryptocurrencies Supported by Ledger Live
Ledger wallets support over 5,000 coins, tokens, and NFTs across multiple blockchains. Below is a snapshot of common assets:
| Crypto | Network | Support Level |
|---|---|---|
| Bitcoin (BTC) | Bitcoin Mainnet | Full Support (Native) |
| Ethereum (ETH) | Ethereum Network | Full Support + ERC-20 Tokens |
| Solana (SOL) | Solana Network | Full Support |
| XRP (Ripple) | XRP Ledger | Native Support |
Security Best Practices for Ledger Users
- Never share your 24-word recovery phrase with anyone.
- Ledger will never ask for your recovery phrase online.
- Always verify receiving addresses on your Ledger’s screen.
- Store your recovery phrase offline in a secure place.
- Regularly update Ledger Live and firmware.
- Watch out for phishing websites and fake apps.
Frequently Asked Questions
A: You can restore your funds on any new Ledger using your 24-word recovery phrase.
A: No. Only blockchain network fees apply.
A: Yes, thousands — through Ledger Live and partner apps.
Conclusion
Using Ledger.com/start is the safest and most reliable way to begin your crypto security journey. By combining hardware-level protection with the Ledger Live software dashboard, you gain complete control over your digital wealth. Whether you’re storing Bitcoin, managing Ethereum-based tokens, or exploring NFT markets, Ledger gives you bank-grade protection with full ownership of your private keys.
Start your setup through the official portal, follow the security best practices, and enjoy peace of mind knowing your crypto is protected with one of the world’s most trusted hardware wallets.